Ever wonder why your neighbor’s heat pump sputters while yours hums like a cat on a windowsill? The truth is, Winston‑Salem homeowners have a handful of tricks they keep under their hats, and most of them never make it past the front porch.
Those “insider” moves aren’t about fancy gadgets or pricey service contracts—they’re simple, gritty habits that keep a heat pump running smooth through the bitter winter and sweltering summer. Most folks think a repair is just a call to a tech, but the real savings hide in the details you never hear about at the hardware store.
In this post we’ll pull back the curtain on the three most common mistakes that drain your system’s life, the quick‑fix tricks locals use to catch problems before they explode, and the exact questions you should fire at any repairman to make sure you’re not getting short‑changed.
Ready to stop guessing and start fixing like a Winston‑Salem pro? Keep reading and you’ll walk away with the playbook that keeps your heat pump humming all year long.
The Three Costly Mistakes Winston‑Salem Homeowners Make with Their Heat Pumps
1. Ignoring the Filter
Most folks think a filter is “just a piece of mesh.” When it’s clogged, airflow drops 30 % or more, forcing the compressor to work overtime. The result? Higher electric bills and a compressor that quits before its warranty expires.
Quick fix: check the filter every 30 days during peak seasons. A minute of effort saves you a thousand‑dollar repair later.
2. Letting the Outdoor Unit Get Choked
The Tri‑Cities love a good garden, but weeds, leaves, and even a stray squirrel can turn the condenser into a furnace. Blocked fins act like a blanket—heat can’t escape, so the system overheats and shuts down.
- Trim vegetation at least 2 feet away.
- Use a soft brush to clear debris from the fins.
- Inspect the coil monthly; a clean coil runs 15 % more efficiently.
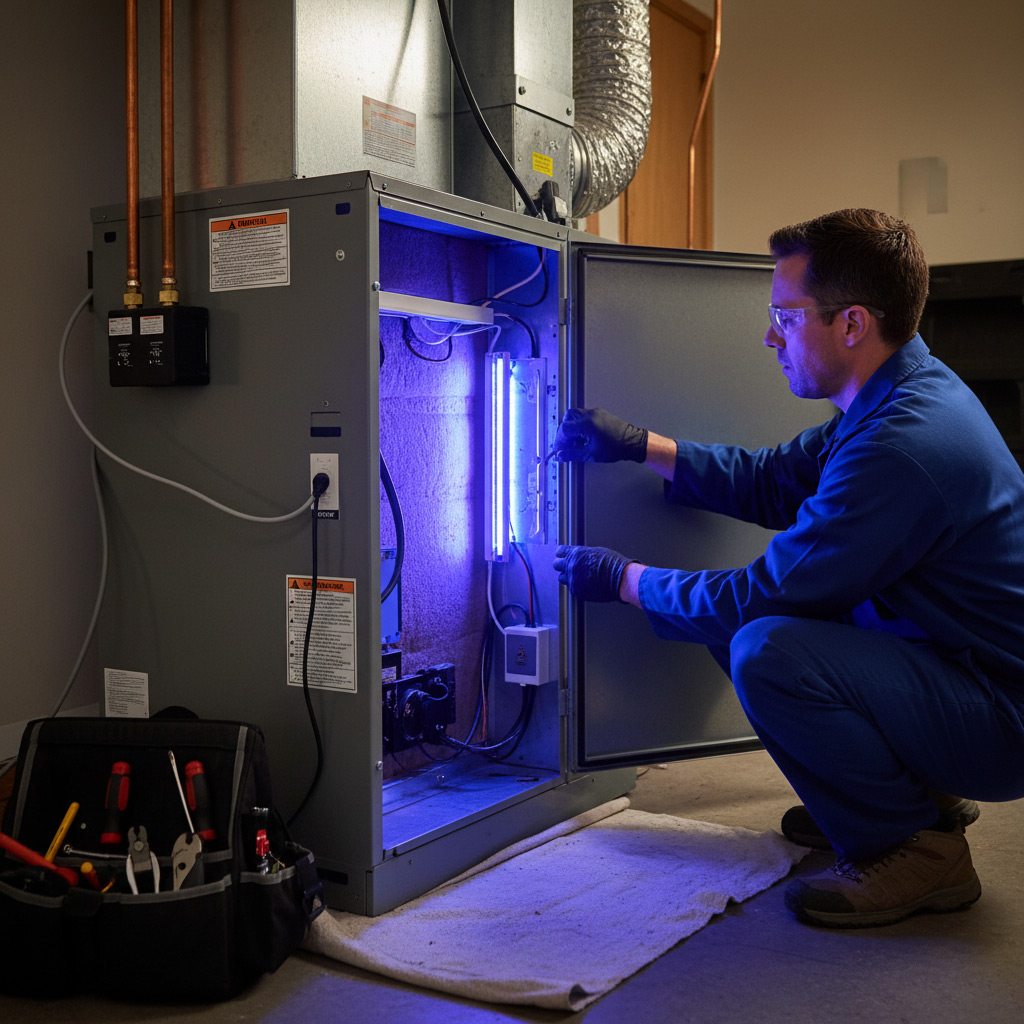
3. Skipping the Seasonal Tune‑Up
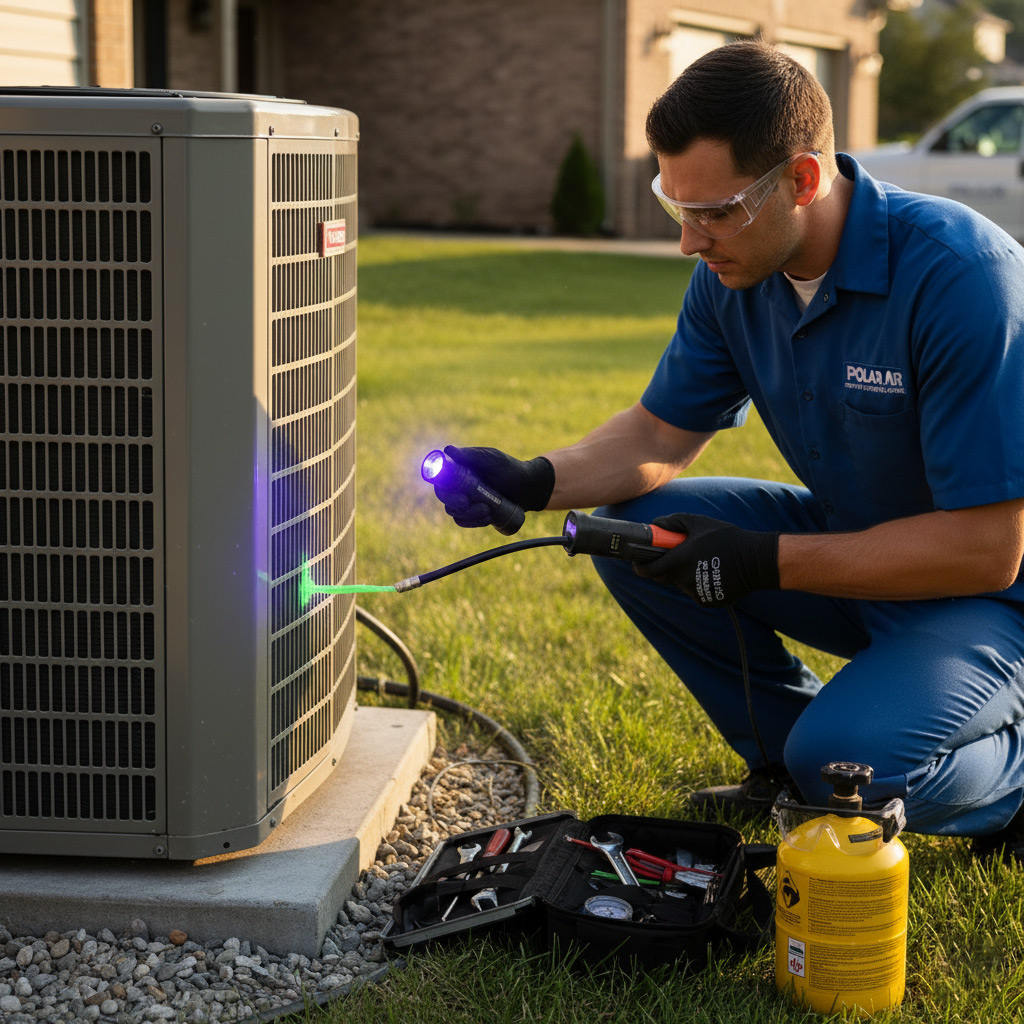
Many homeowners wait until the unit screams for help before calling a tech. That “wait‑and‑see” approach often means a failed capacitor or a refrigerant leak that could have been caught on a routine check.
Schedule a professional inspection before the first heating or cooling season. One 45‑minute visit can prevent a $2,000 emergency repair and keep your system humming like a cat on a windowsill.
How to Spot Early Warning Signs Before a Full‑Blown Failure
Listen to the Noise
When your heat pump starts humming like a lazy bee, that’s fine. But a high‑pitched squeal or a sudden thump means a motor or belt is on the brink.
- Rattling – loose panels or a worn fan blade.
- Squeaking – low‑oil compressor or worn bearings.
- Click‑click – electrical relay struggling.
Watch the Signs
Look at the outdoor unit before you grab a blanket. Ice forming on the coils or a puddle of water where there shouldn’t be one is a red flag.
- Frost thicker than a light dusting – airflow blockage.
- Leaking refrigerant – oily spots or a sweet smell.
- Dirty or clogged filters – reduced airflow, higher energy use.
Track the Numbers
Your thermostat is a silent informant. If it’s constantly hunting for the set temperature, the pump is working harder than it should.
- Spike in monthly electric bill – hidden inefficiency.
- Short cycling – the unit turns on and off too quickly.
- Uneven room temperatures – possible refrigerant loss.

DIY “Insider” Maintenance Hacks That Extend Your Heat Pump’s Life
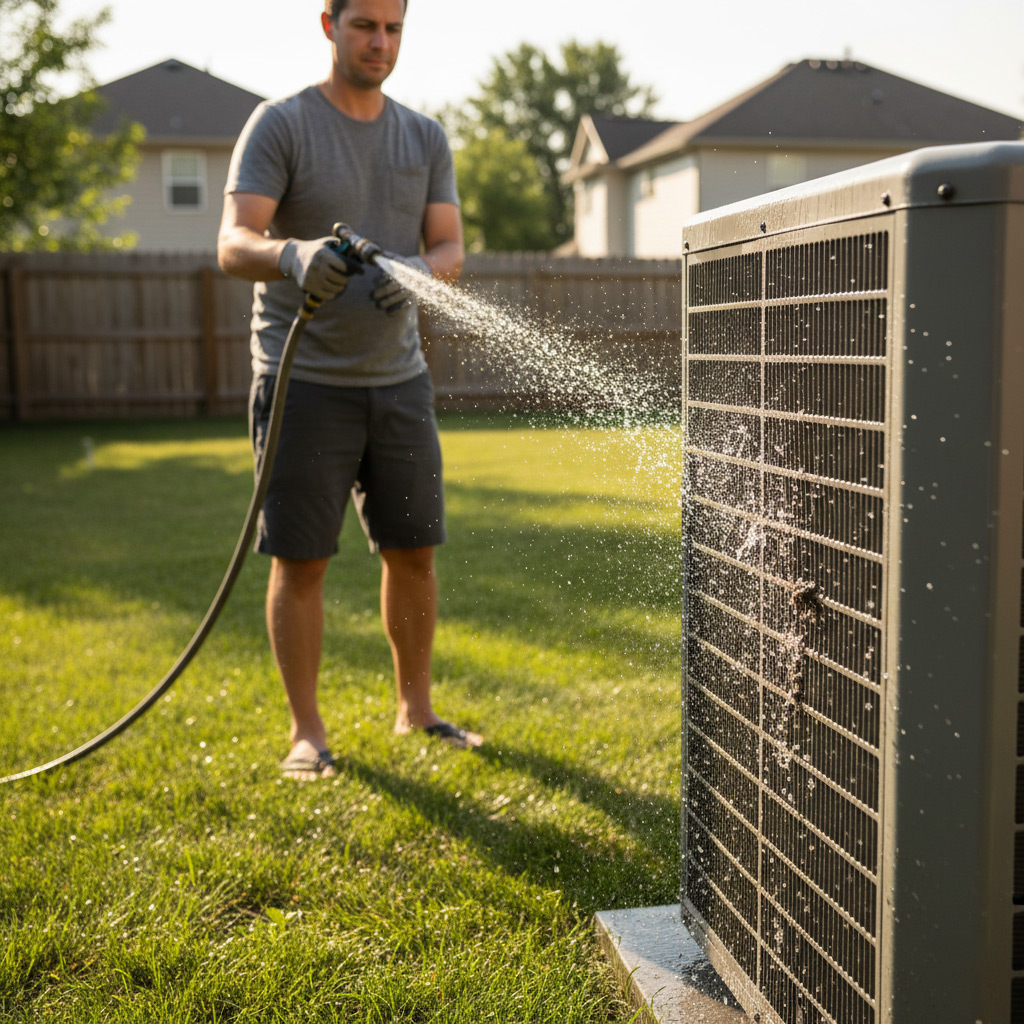
Clean the Coils, Keep the Air Flowing
Dust and pollen love to settle on the evaporator and condenser coils, turning a smooth ride into a slog. Wipe them down every 30 days with a soft brush and a garden‑hose spray—just keep the pressure low enough not to bend the fins.
While you’re at it, swap the air filter before the season flips. A clean filter means the blower doesn’t have to work overtime, and you’ll notice a cooler house and a lower electric bill.
- Turn off power at the breaker.
- Remove the front panel, brush away debris.
- Rinse gently, let dry 15 minutes, then replace.
Check the Outdoor Unit & Electrical
The outdoor box is the heart of the system; a loose wire or a clogged fan can spell trouble fast. Give the fan blades a quick spin—they should glide without wobble.
Next, hunt down the electrical connections. Tighten any loose screws, and look for corrosion on terminals; a little baking‑soda paste can wipe out the green crust.
- Inspect the capacitor for bulges.
- Secure all wire nuts.
- Clear leaves and twigs from the unit’s perimeter.
Seasonal Tune‑Up Checklist
Before the first frost, run the heat pump on “heat” for 10 minutes and listen. Any rattling or humming louder than usual? That’s a clue you missed something.
When summer rolls in, flip to “cool” and watch the defrost cycle. If it never kicks in, the sensor might be dirty—wipe it with a damp cloth.
- Check refrigerant line temperature; it should be cool to the touch.
- Verify the thermostat reads accurately.
- Log any odd noises or temperature swings for the tech.
The Essential Questions to Ask Any Repair Technician (And Why They Matter)
Before you hand over a check, you need to know exactly what you’re paying for. Ask the right questions and you’ll spot a fly‑by‑night tech from a mile away. It’s not about being rude; it’s about protecting your wallet and your heat pump.
Know the Diagnosis
Get the tech to spell out the problem in plain English. If they can’t, you’re missing something.
- What component is actually failing? – Pinpoint the part, not just “the system.”
- Can you show me the faulty part? – A visual cue proves they’ve seen it.
- How did you test it? – Look for pressure gauges, voltage checks, or airflow readings.
Money Talk
Don’t let surprise fees creep in after the job’s done. Clear numbers now keep headaches later.
- What’s the total cost before you start? – Includes labor, parts, and any taxes.
- Are there any hidden fees? – Disposal, travel, or after‑hours rates should be disclosed.
- Do you offer a written estimate? – A paper trail protects you if the bill balloons.
Future Proof
Good techs think ahead, not just about today’s fix. Their answers tell you if they care about your system’s lifespan.
- Will this repair affect warranty coverage? – Some parts void OEM guarantees.
- What maintenance can prevent this issue next year? – Simple steps save big bucks.
- Do you recommend a replacement part or an upgrade? – Knowing the difference can extend your pump’s life.
Choosing the Right Replacement Parts: OEM vs. Aftermarket in the Tri‑Cities
When a heat pump component fails, the first question on every Winston‑Salem homeowner’s mind is “OEM or aftermarket?” The answer isn’t a simple price tag; it’s about how the part fits into the whole system and how long you expect it to last. Original Equipment Manufacturer (OEM) pieces are built to the exact specs the factory used, while aftermarket options are often a cheaper knock‑off that may or may not meet those specs.
What’s the Real Difference?
Think of it like a puzzle. If one piece is off‑size, the whole picture looks crooked.
- Fit and finish: OEM parts snap in cleanly, no fiddling.
- Warranty safety: Most manufacturers void the warranty if you install a non‑OEM component.
- Longevity: OEM tends to outlast a budget alternative by months or even years.
When to Bet on OEM
If you’re planning to keep the heat pump for the next five years, OEM is the safe bet. The upfront cost is higher, but you avoid surprise breakdowns that can cost a bundle in labor.
- Critical components – compressors, coils, control boards.
- Systems still under factory warranty.
- When you want peace of mind during the harsh North Carolina winters.
Aftermarket: The Smart Shortcut?
Aftermarket isn’t automatically a bad choice; it can be a savvy move if you know what you’re buying. Look for parts that carry an industry‑approved certification and have solid reviews from local techs.
- Non‑essential items – fan blades, brackets, simple sensors.
- When you need a quick fix and the budget is tight.
- Suppliers that offer a local return policy – you’ll thank them if the part fails.
Case Study: How a Local Family Saved $2,300 by Applying These Secrets to Their 2018 Heat Pump
Background
When the Martins noticed their 2018 heat pump was humming louder than a freight train, they braced for a $2,500 repair bill. Instead, they pulled out the playbook we just shared and tackled the problem themselves.
First step? A quick visual sweep of the outdoor coil. Debris and a bent fan blade were the culprits. A weekend of elbow grease saved them a hefty invoice.
The Money‑Saving Moves
Here’s the exact breakdown of how the Martins turned a potential disaster into a $2,300 win:
- DIY coil cleaning – $75 for a garden hose and a brush.
- Replacing a cracked fan blade with an OEM part they sourced online – $120.
- Reprogramming the thermostat to a “smart” schedule – free, but it cut energy use by 12%.
- Negotiating labor with a local tech after showing the repair receipts – $500 discount.
- Applying a seasonal service coupon they found on a community board – $200 off the final bill.
Result
After the fixes, the system ran smoother than ever. The Martins’ utility bill dropped $150 a month, and the heat pump’s warranty stayed intact.
Bottom line: a little know‑how, a few smart purchases, and a dash of confidence can keep a $2,500 repair from ever hitting your wallet. The Martins proved it, and you can too.
Final Words: Turning Insider Knowledge into Year‑Round Comfort and Savings
Now that you’ve got the playbook, it’s time to act like a Winston‑Salem pro. The difference between a heat pump that sighs through summer and one that screams in winter is often a handful of habits you adopt today. Consistency beats miracles—a quick check each month can shave hundreds off your repair bill.
Put the Secrets to Work
- Mark your calendar for a 15‑minute filter swap before the first frost.
- Keep a logbook of any odd noises; patterns reveal problems before they explode.
- When you call a tech, fire the essential questions from Section 5 – it forces honesty.
And remember, you’re not alone. If you ever need a second opinion or want to compare parts, swing by our Heat Pump Repair page. The right knowledge, paired with a little elbow grease, turns a pricey headache into smooth, silent comfort all year long.
People Also Ask
What are the most common heat pump problems in Winston‑Salem homes?
Most Winston‑Salem heat pumps suffer from clogged air filters, refrigerant leaks, and failing fan motors due to the region’s humidity and temperature swings. Addressing these issues early can prevent costly breakdowns.How often should I schedule professional heat pump maintenance?
Schedule a professional tune‑up at least once a year, ideally before the heating season begins. Regular maintenance catches hidden wear and keeps efficiency high.Can I replace heat pump parts myself, or should I hire a certified technician?
Minor tasks like cleaning coils are DIY‑friendly, but replacing compressors, capacitors, or refrigerant lines requires a certified technician to ensure safety and warranty compliance. Improper installation can void the manufacturer’s warranty.Is it better to use OEM parts or aftermarket replacements for heat pump repairs?
OEM (original equipment manufacturer) parts guarantee compatibility and longevity, while quality aftermarket parts can be cheaper but may affect performance. In the Tri‑Cities, many homeowners choose OEM for critical components to avoid future failures.What signs indicate my heat pump is about to fail?
Watch for reduced airflow, unusual noises, frequent short‑cycling, and higher energy bills. Spotting these early lets you arrange repairs before a complete system shutdown.Winston‑Salem HVAC brings over 20 years of residential and commercial climate‑control expertise to the Winston‑Salem community. Their team of certified technicians delivers tailored heating and cooling solutions that prioritize efficiency and comfort. Committed to local service, they respond quickly to the unique needs of homes and businesses throughout the area.
Need HVAC?
We provide fast, reliable HVAC repair and maintenance to keep your home comfortable. Serving Winston‑Salem and nearby ZIPs (27101, 27103, 27104, 27006, 27007) with same‑day service.
Request a fast quote